User Management
Add User
Steps:
In the list, click the name of the target Company.
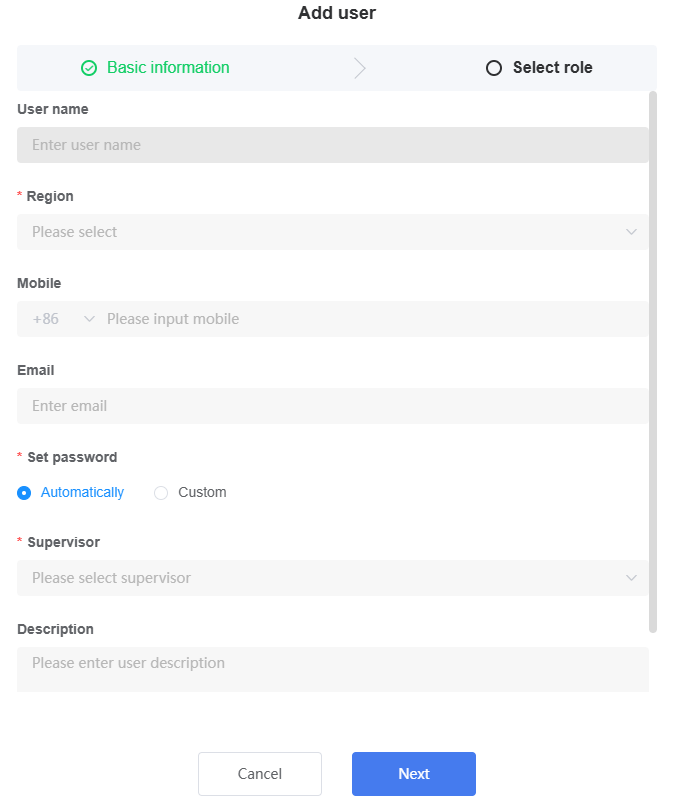
Click the "Add User" button.

- Fill in the form according to the table below:
| Setting | Instructions |
|---|---|
| Username | Enter the system identification name for this subordinate user. |
| Region | Select the geographic region where the user is located. |
| Mobile Phone Number | Applicable to Asia-Pacific site only. |
| Enter a valid email address. | |
| Password Setup | Select the password creation method: Auto-generate: The system automatically generates a temporary password and sends it to the email address entered above. Custom: Manually set the login password for this user. |
| Parent Company | Select the corresponding upper level service provider (Distributor or Installer). |
| Description (Optional) | Enter relevant details or remarks about the user. |
- Click "Next".
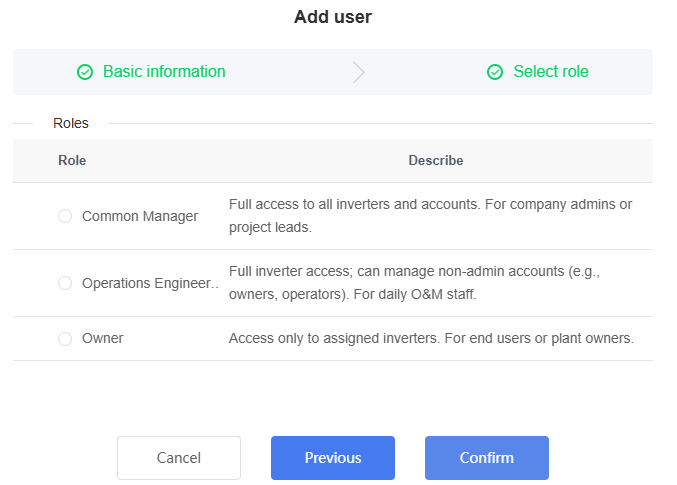
Assign role: Assign a system role to this user. The assignable role range depends on the permissions of your currently logged-in account:
If you are currently a Common Manager, you can assign: Common Manager, Operations Engineer, or Owner.
If you are currently an Operations Engineer, you can only assign: Operations Engineer or Owner.
After role assignment is complete, click "OK" to finish creation. The newly added user appears in the management list.
Edit User Information and Role
Steps:
Click the name of the target Company.
In the operation column, click the edit icon in the row of the corresponding user.
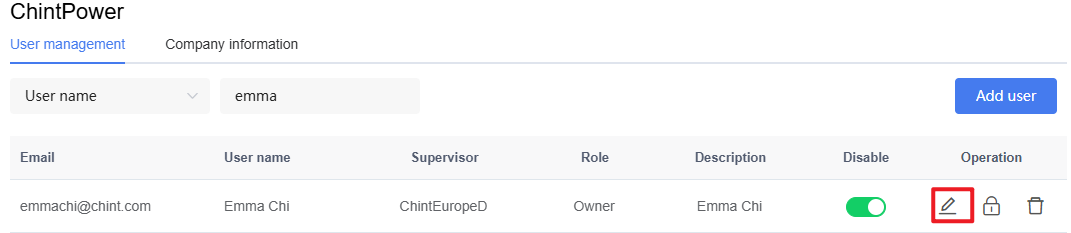
Update the user's detailed information, then click "Save" to apply the changes:
Click "Basic Information": You can edit the username, region, email, parent company (Distributor or Installer), and description.
Click "Select Role": You can reassign a system role for this user.
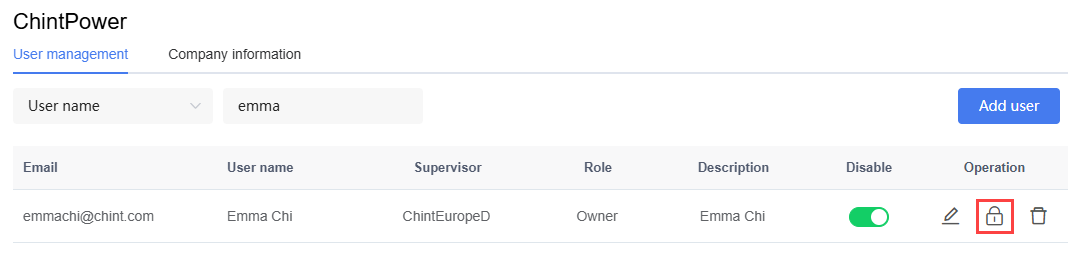
Reset Password
Steps:
Click the name of the target Company.
In the operation column, click the reset password icon in the row of the corresponding user.
Select one of the following methods to reset the password:
Auto-generate password: Select this option and click "OK". The system generates a new password and automatically sends it to the user's bound email.
Manually set password: Select this option, manually enter the new password and re-enter it for confirmation, then click "OK".
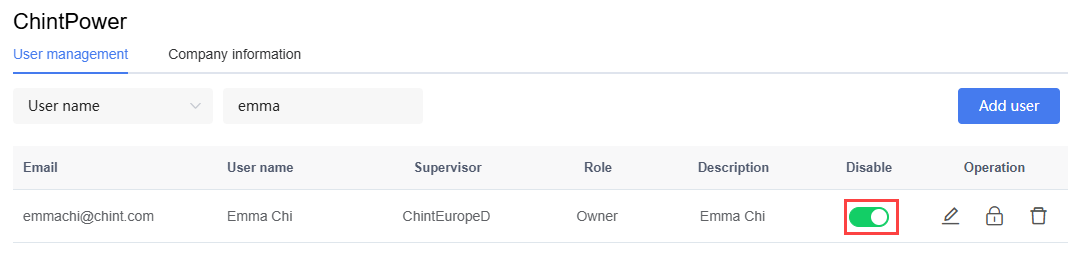
Disable/Enable User
Steps:
Click the name of the target Company.
In the operation column, click the "Disable" button in the row of the corresponding user to disable or enable the user.
[figure: Disable User]
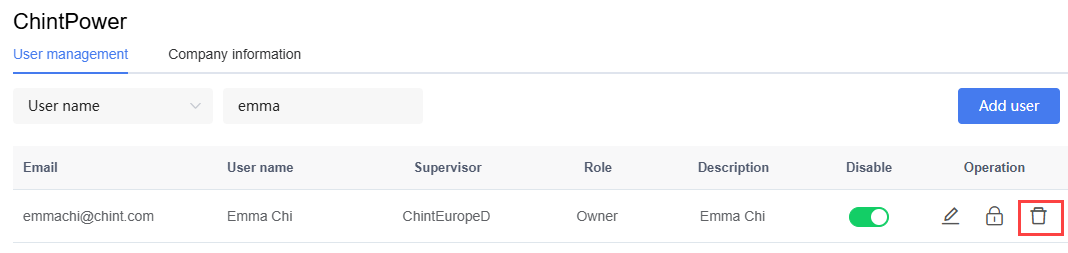
Delete User
Steps:
Click the name of the target Company.
In the operation column, click the delete icon in the row of the corresponding user.
Click "OK" to delete the user.